I think a return process proves its value on a busy Monday, when weekend orders, size exchanges, and refund questions arrive together. Without clear steps, one returned sweater can leave customer service, warehouse staff, and inventory records telling different stories.
My approach to clothing return workflows made simple starts with connecting each customer request to a clear decision, an assigned owner, and an accurate stock update. Whether you run an independent boutique or a growing online clothing store, a repeatable process helps your team resolve returns with fewer delays.
What Is a Clothing Return Workflow?
A clothing return workflow is the sequence a business follows when a shopper sends back a garment. It covers eligibility checks, shipping instructions, receiving, inspection, inventory routing, and the final refund or exchange.
Clothing needs particular attention because size, color, tags, fabric condition, and hygiene affect resale decisions. A returned medium navy shirt must reach the correct inventory record, rather than simply becoming “one shirt” added to stock.
Start With Rules Customers Can Understand
Explain Eligibility Before Checkout
Publish a return policy that explains the deadline, eligible products, garment condition requirements, shipping charges, and refund timing. Specify whether the deadline applies to requesting, mailing, or receiving the return.
For example, a store might allow requests within 30 days of delivery. That is a business policy example, rather than a universal requirement.
Explain holiday extensions and exceptions for clearance merchandise, personalized clothing, swimwear, and intimate apparel. Make restrictions visible on relevant product pages.
Assign Responsibility for Exceptions
Give routine approvals to customer service or automated rules. Assign borderline condition decisions to a warehouse supervisor and payment discrepancies to finance.
Specify who handles missing tags, late packages, gifts, and purchases without an order number. A named owner prevents returned garments from sitting untouched while employees wait for answers.
Follow the Return Through Five Practical Stages

1. Capture the Request
Let shoppers identify their order, select individual items, and choose a return reason through a simple form or portal.
Use specific reasons such as “waist too tight,” “color different from photos,” or “damaged seam.” Keep the customer’s stated reason separate from the condition your team later observes.
Create a return merchandise authorization, or RMA, that connects the request with its original order.
2. Confirm Eligibility and Shipping Instructions
Check the purchase date, product restrictions, and requested resolution. Approve straightforward cases automatically when they meet your rules.
Send packing instructions, the correct return address, and a trackable label when provided. Explain any deductions before the customer commits.
For stores offering drop-off or in-person returns, clarify which locations accept online purchases.
3. Receive and Match the Garment
Scan the return identifier when the package arrives. Match each garment against its expected style, size, color, and quantity.
Hold unmatched items in an exception area with an assigned reviewer. Record receipt promptly so customer service can answer tracking questions accurately.
Receiving a parcel should update its status without immediately making its contents available for sale.
4. Inspect and Choose a Route
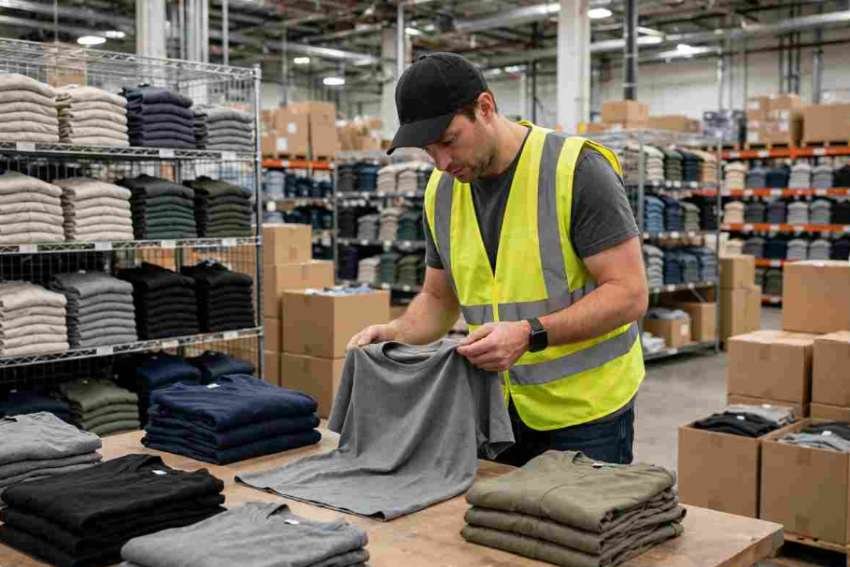
Check for wear, stains, odors, stretched fabric, broken fasteners, missing accessories, and relevant hygiene seals.
Use written condition standards supported by example photographs. A simple grading system can separate resale-ready garments, items needing minor reconditioning, and products unsuitable for regular stock.
Route eligible pieces through refolding, steaming, retagging, or repackaging where appropriate.
For retailers and manufacturers handling returned garments or reusable materials, fabric tracking tools for manufacturers can provide additional visibility into material details and help maintain more consistent tracking records.
Send other items to approved secondary channels, repair, donation, or recycling according to condition and business rules.
5. Complete the Resolution
Issue the refund, exchange, or store credit at the trigger specified in your policy. Explain the difference between your processing time and the payment provider’s posting time.
Update inventory only after the item clears inspection and reaches its correct location. Confirm the final outcome with the customer and close the return record.
Make Size Exchanges Easier to Complete
A shopper returning jeans that fit poorly may still want the same style in another size.
Offer available alternatives with garment measurements and useful fit notes. Check replacement stock before promising an exchange, and define whether inventory is reserved while the original item travels back.
For clothing return workflows made simple, this connection matters: the exchange request, replacement availability, and warehouse instructions should stay synchronized.
Consider a Chicago boutique receiving a too-small sweater. Customer service confirms eligibility, reserves the requested size under its reservation rules, and sends instructions. Warehouse staff inspect the original sweater, record its condition, and trigger the agreed replacement process.
Automate Updates and Keep Exceptions Visible

Connect your storefront, shipping tools, inventory system, and payment records where practical.
Retailers can strengthen these connections by exploring apparel API connections for retailers to coordinate product information, inventory updates, order processing, and returns across their platforms.
Automate routine approvals, labels, status messages, and overdue-task alerts.
Keep a manual review path for incorrect items, disputed condition assessments, missing packages, and suspected abuse.
Test partial returns, discount codes, gift purchases, and exchange price differences before expanding automation. Confirm that retries cannot create duplicate refunds or stock increases.
Measure Results and Prevent Repeat Returns
Track return rate by item variant, receipt-to-inspection time, refund processing time, exchange completion, and recovered resale value.
Define each metric consistently. Count units when measuring a unit return rate, and separate warehouse processing time from carrier transit.
Review return reasons alongside product pages. Repeated fit complaints may call for corrected measurements, while color complaints may require better photography.
Retailers can also learn from established menswear retailers when evaluating garment quality, fit expectations, and product presentation; explore Australia’s premier men’s clothes for a relevant retail example.
Accurate fabric descriptions and model sizing details can help shoppers choose confidently.
Frequently Asked Questions
1. What does clothing return workflows made simple mean?
It means giving every return a clear path from request to resolution, with consistent rules, assigned responsibilities, and accurate inventory updates.
2. Can a small boutique manage returns without dedicated software?
Yes. A shared tracker can work initially if each return has a unique identifier, owner, status, condition record, and resolution. Software becomes useful as volume and complexity grow.
3. Should every returned garment go back into stock?
No. Inspect each garment first. Its condition, completeness, hygiene requirements, and resale suitability determine the appropriate route.
Build a Process Your Team Can Repeat
I would begin with clear policies, a consistent inspection checklist, and reliable customer updates. Those foundations make clothing return workflows made simple achievable without overwhelming your team.
Review exceptions regularly, improve one recurring problem at a time, and keep every return connected to its order and final outcome.